Get started with NetFoundry zLAN
This page walks you through deploying NetFoundry Self-Hosted, accessing the zLAN console, and configuring your first firewall instance.
Installing in an offline environment? See Install zLAN offline for package requirements and steps.
1. Deploy NetFoundry Self-Hosted
Deploy NetFoundry Self-Hosted with the zLAN option enabled. This gives you the OpenZiti controller and support stack that zLAN requires. See Install NetFoundry Self-Hosted for details.
2. Access the zLAN console
- Open the zLAN console URL from
INSTALL-NOTES.txtand sign in using the credentials generated during setup. - On first sign-in, enter your license key when prompted. See Manage your license for details.
3. Deploy a firewall
-
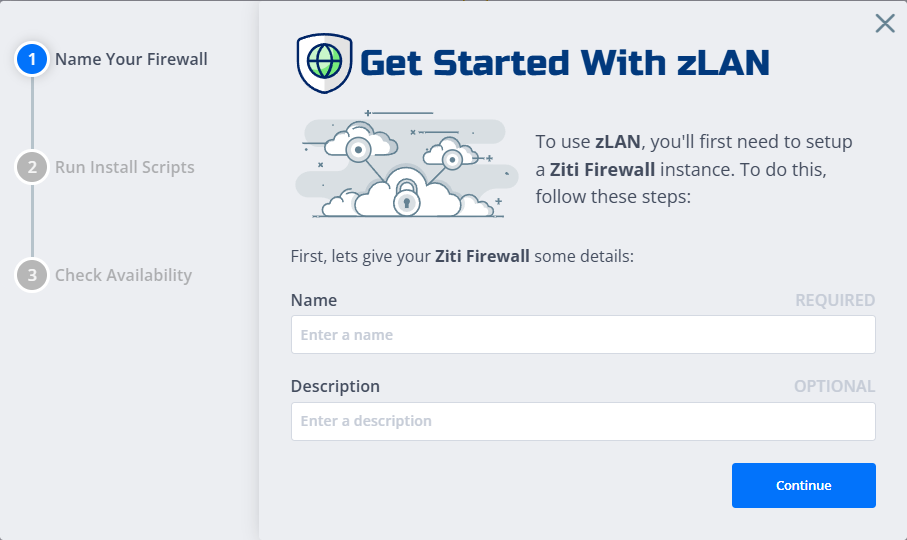
In the console, click Firewalls in the sidebar, then click + to deploy a new firewall.
-
Enter a name and description, then click Continue.
-
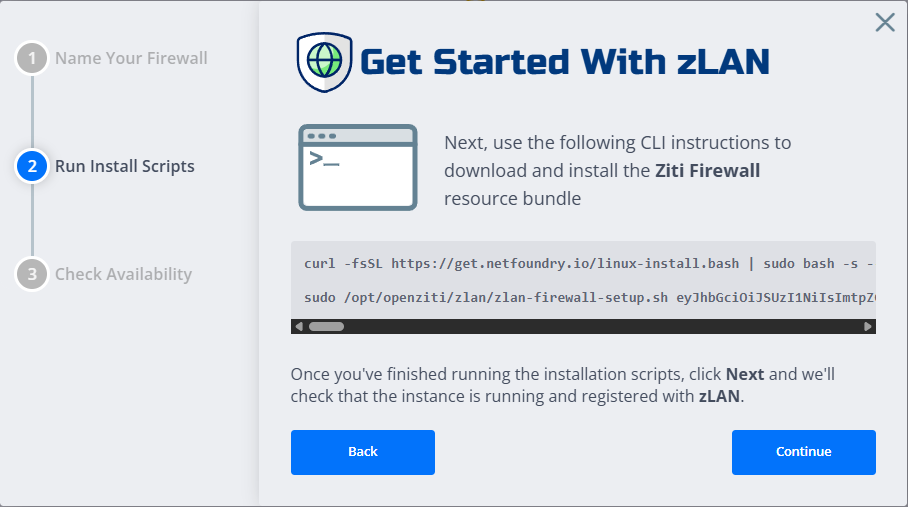
Run the provided command on your target Linux machine. This installs and configures the firewall software.
-
Return to the console and click Continue.
-
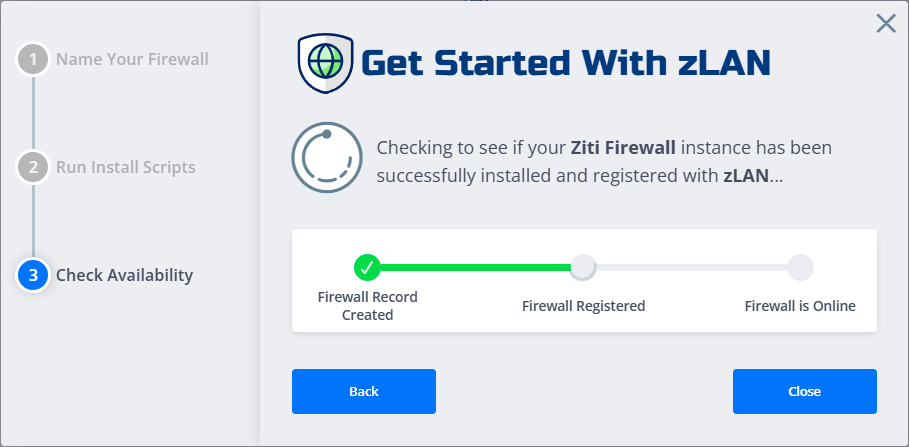
Wait for the firewall to come online, then click Close to return to the firewall list.
4. Configure the firewall
-
In the firewall list, find your new firewall (in the
Not Configuredstate) and click it to open the configuration wizard. -
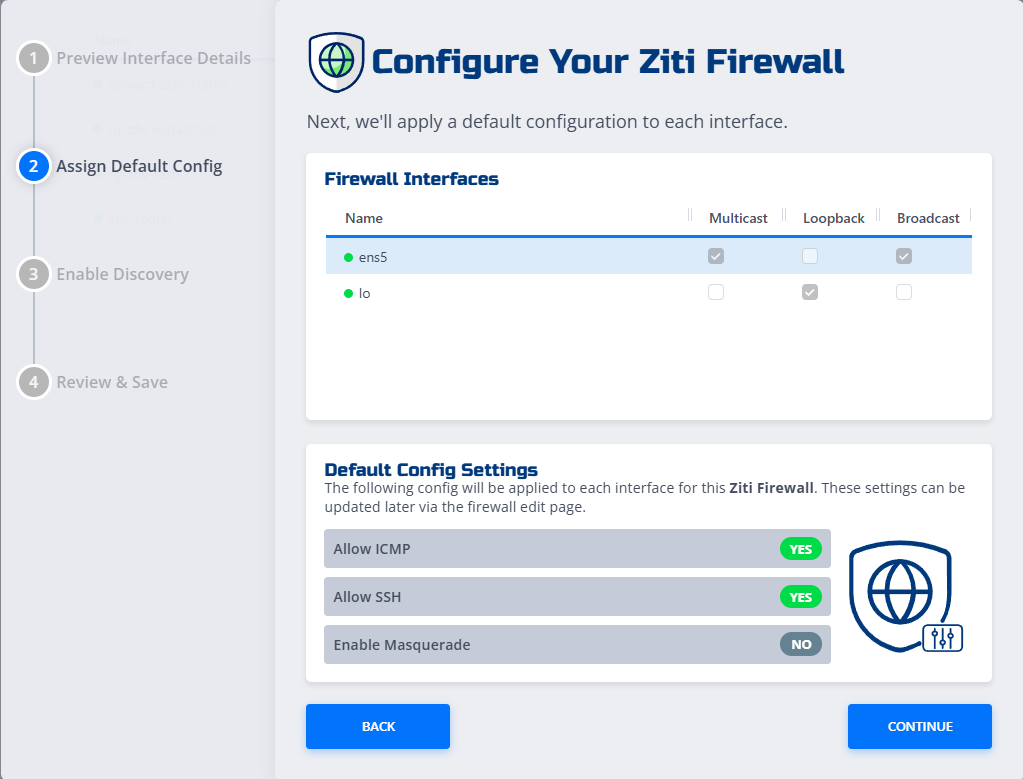
Review the detected interfaces and click Continue.
-
Set your global options and click Continue:
- Allow ICMP: Permit inbound and outbound ping (ICMP echo) traffic.
- Allow SSH: Permit inbound SSH connections to the firewall.
- Enable Masquerade: Enable source NAT so that traffic leaving the firewall uses the interface IP.
For full details on all configuration options, see Firewall configuration options.
-
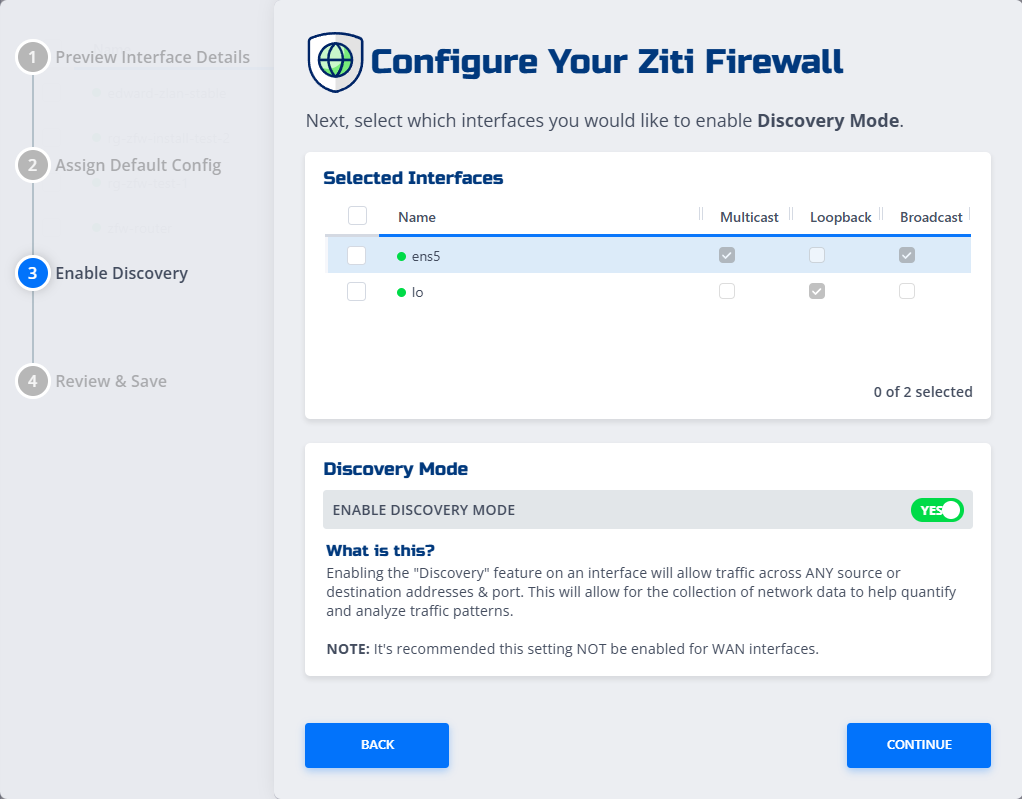
On the Enable Discovery page, select the interfaces to enable discovery on and click Continue.
noteEnabling discovery allows traffic across any source and destination, which helps collect data for traffic analysis. Disable it once you've defined your rules.
-
On the Review & Save screen, confirm your settings and click Save.
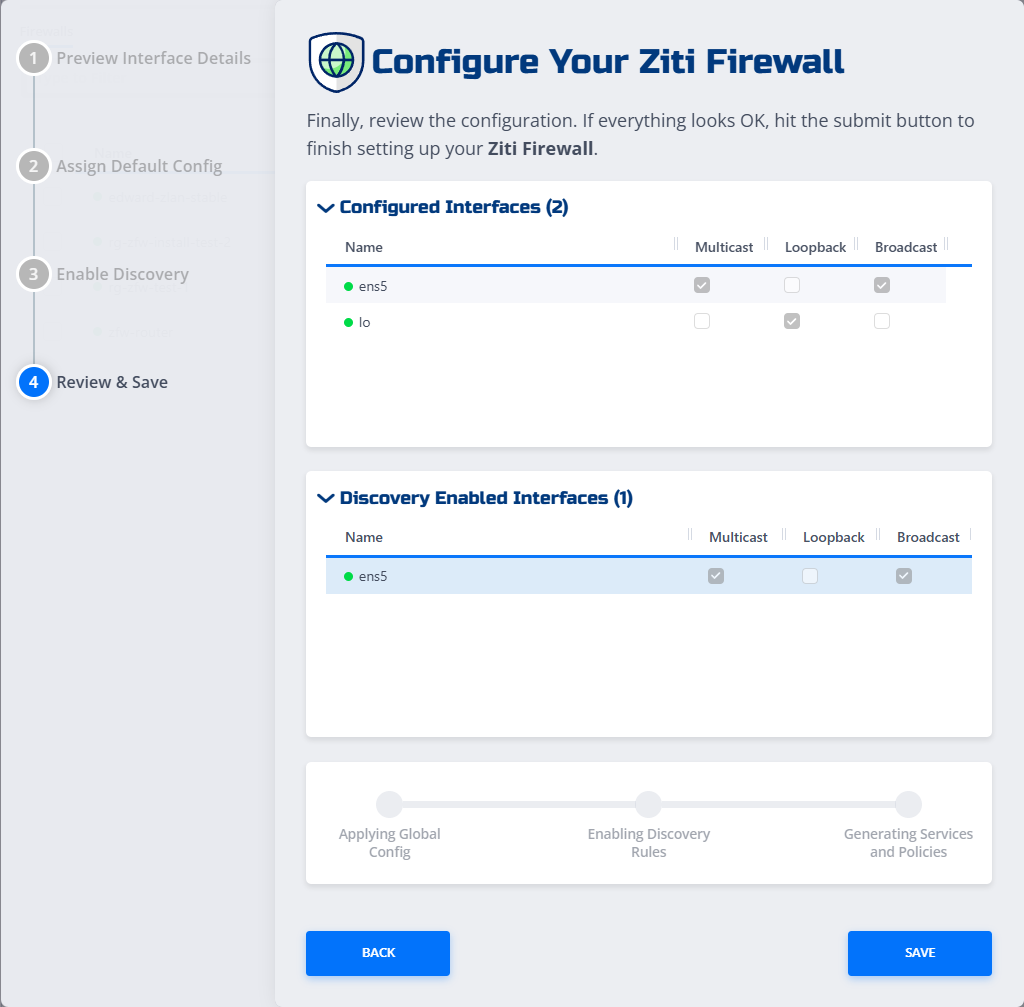
Your firewall is now configured and ready to use. See Add and remove firewall rules to start building your ruleset.