Getting Started with NetFoundry zLAN Firewall
Welcome to NetFoundy zLAN! This guide will walk you through deploying the NetFoundry Self-Hosted solution, accessing the zLAN Console, and configuring your first firewall instance.
Offline? See the Offline Installation Reference for package requirements and steps.
1. Deploy NetFoundry Self-Hosted
To begin, deploy the NetFoundry Self-Hosted solution. This solution includes:
- OpenZiti Controller
- NetFoundry Support Stack (provides an ELK stack for observability and monitoring)
- !! You'll need to deploy this with the Netfoundry zLAN Console option enabled.
2. NetFoundry zLAN Console
After deployment, access the zLAN Console (web UI) and log in using the credentials generated during setup.
On first login, the Console will prompt you to enter a license key before proceeding. Follow the on-screen steps to activate your instance. See License Management for details on adding, updating, or replacing a license.
In the Console, you can:
- Manage firewall instances, rules, and policies
- View network discovery and visualizations
3. Deploy a Firewall
-
In the Console, click the + button to deploy a new firewall.
-
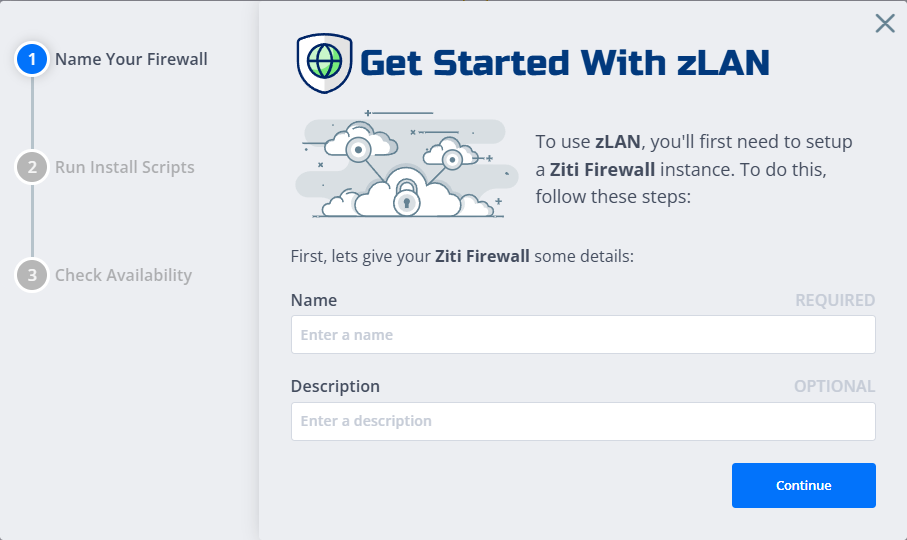
Enter a name and description for the firewall.
-
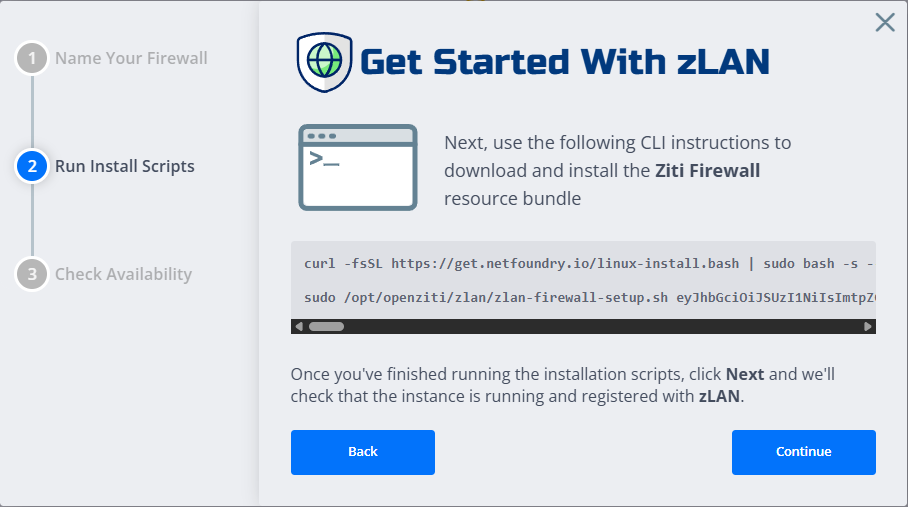
Click Next. You will see a copy-paste installation command.
-
Run this command on your target Linux machine (via terminal or SSH). This installs and configures the
zLAN-router/ziti-firewallsoftware. -
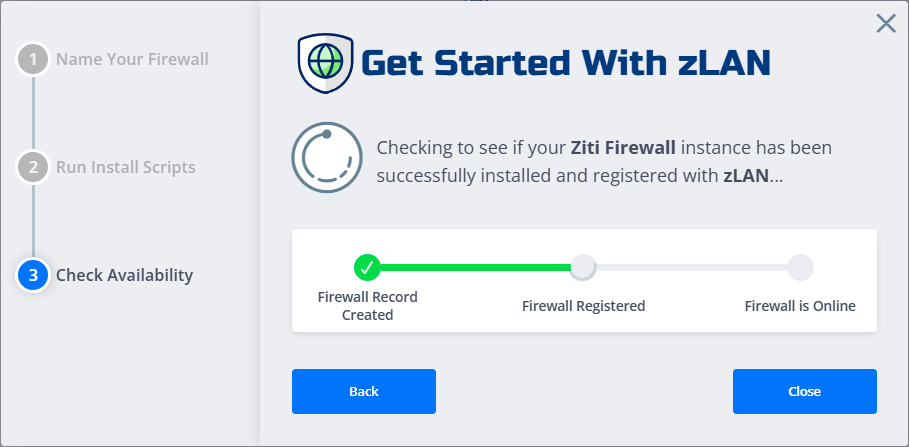
Return to the Console and click Next to reach the Checking Availability screen. Wait for the software to come online.
-
Once online, click Close to return to the firewall instances list.
4. Configure the Firewall
- In the firewall instances list, find your new firewall ("Not Configured" state) and click it to open the configuration guide.
- The guide starts with a preview of detected interfaces and their details. Click Continue.
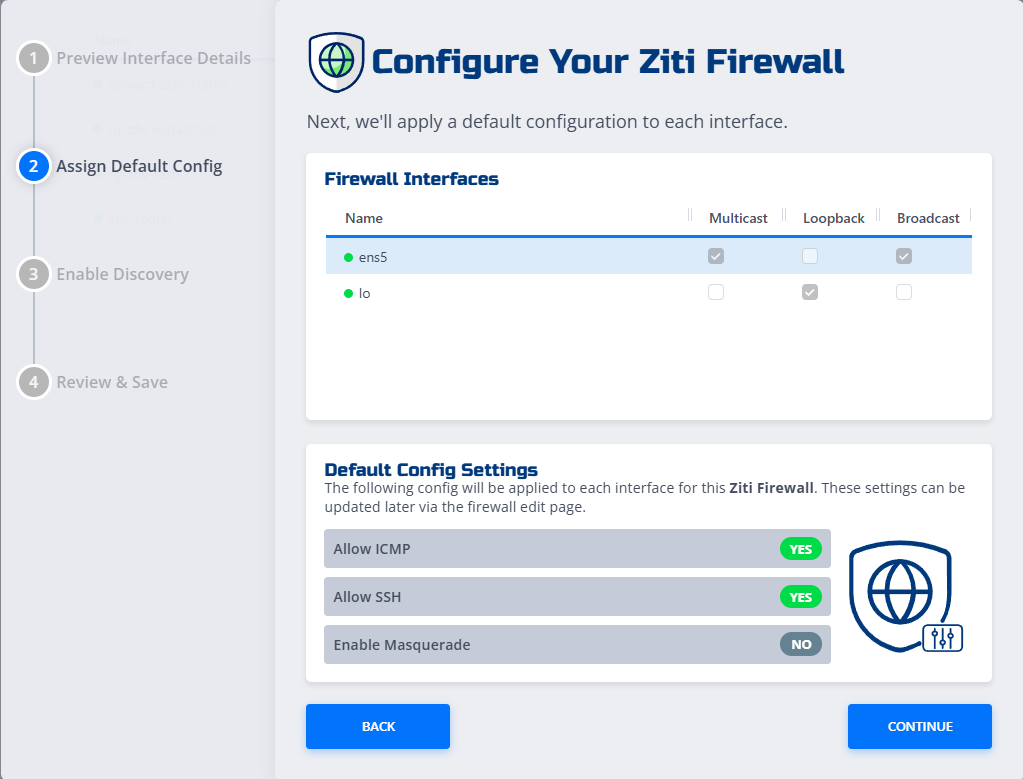
Default Configuration Settings
You will see default options for your firewall:
- Allow ICMP: Yes/No
- Allow SSH: Yes/No
- Enable Masquerade: Yes/No
These settings apply globally but can be changed per interface later. Adjust as needed and click Next.
Enable Discovery
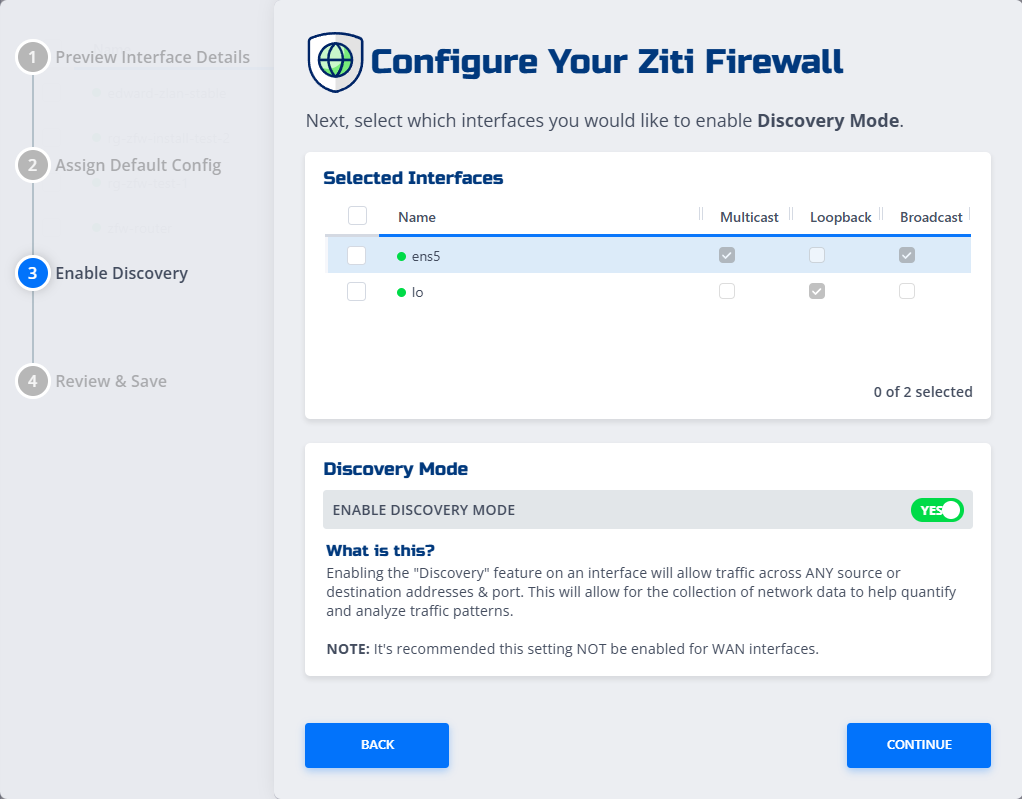
On the Enable Discovery page:
- Select interfaces to enable discovery using the checkboxes.
What is Discovery?
Enabling "Discovery" allows traffic across any source/destination addresses and ports, helping collect network data for traffic analysis.
Click Continue.
5. Review & Save
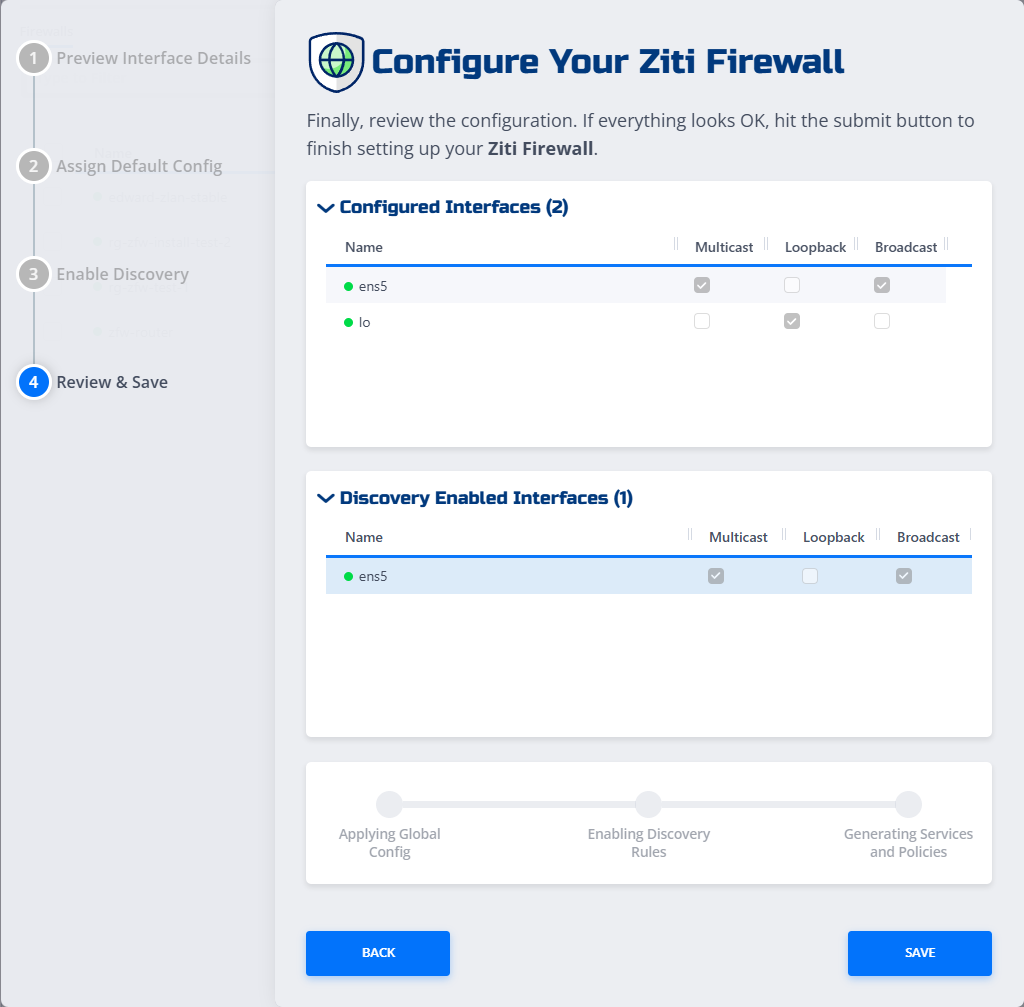
The final screen, Review & Save, summarizes your selections:
- Review configuration details
- Click Save to apply settings, or Back to make changes
Once saved, your firewall is fully configured and ready for use.
