Add a custom domain
myzrok.io lets you use your own DNS name for zrok shares. For example, if you own foo.example.io,
you can create ephemeral shares like https://vw8jbg4ijz5g.foo.example.io or
reserved shares like https://toaster.foo.example.io.
Prerequisites
- You must own the domain you want to use and have access to its DNS settings.
- Custom domains require a Pro subscription with myzrok.io.
Add your domain
-
Sign in to the myzrok console and click the globe icon in the left navigation to open the Custom Domains page:
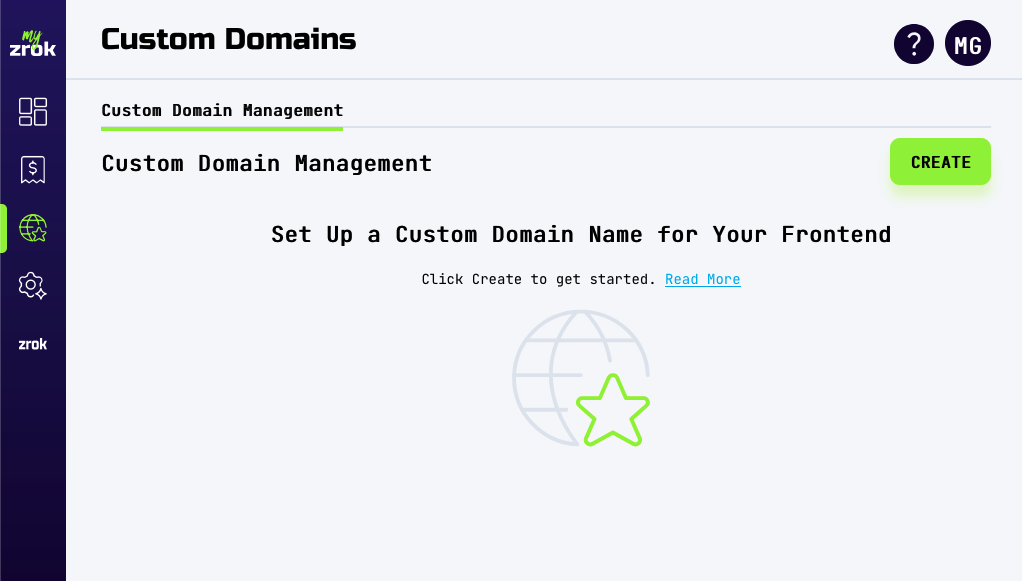
-
Click Create in the top right corner.
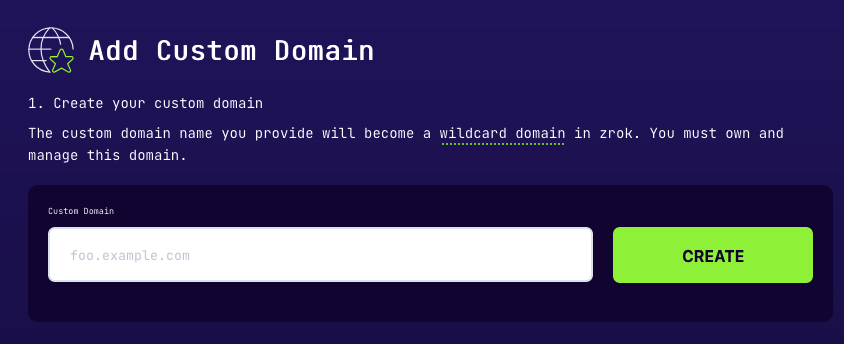
-
Enter your domain name and click Create. zrok begins issuing a managed TLS certificate for your domain:
-
Close the form. Return when your domain status changes to pending validation—this usually takes a few minutes.
Create DNS records
zrok needs two DNS records: a CNAME to validate domain ownership for certificate issuance, and an A record to route traffic.
-
Create a CNAME record with the name and value shown in the form:

-
Create an A record pointing your domain to the static IPs provided:

-
Verify your records resolve correctly using the
nslookupcommand shown in the form: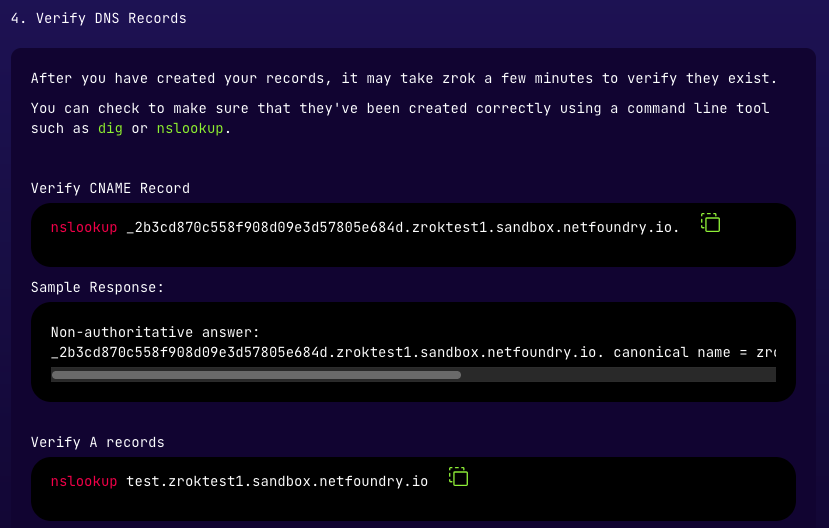 nslookup test.foo.example.ioServer: 192.168.86.194Address: 192.168.86.194#53Non-authoritative answer:Name: test.foo.example.ioAddress: 99.83.220.186Name: test.foo.example.ioAddress: 52.223.6.108
If the command returns the A-record IPs, DNS is resolving correctly.
-
Close the form. zrok validates your records and issues the certificate within a few minutes.
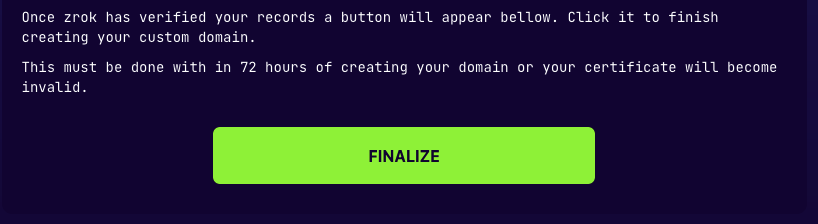
Finalize your domain
Within 72 hours of certificate issuance, click Finalize to complete setup:
myzrok.io will finish the final steps automatically—this takes about a minute.
Start sharing
To create shares that use your custom domain, specify the --frontend flag:
zrok2 share public --frontend foo-example--goPIhgtJtz
To set it as the default for your environment:
zrok2 config set defaultNamespace foo-example--goPIhgtJtz
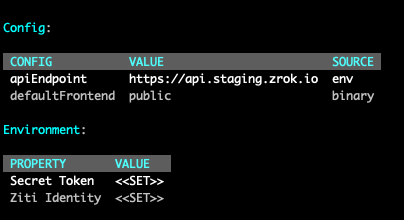
To confirm the active frontend, run zrok2 status: