Manage customers
The Customers page is where a provider views and manages its customers (tenants). For the resource itself (its fields, ownership, and what disabling affects), see Customers.
View customers
-
Sign in to the Customer Connect console. Service provider admins land on the provider dashboard; customer admins land on their own scoped dashboard.
- In the sidebar, go to Customers.
The list shows each customer's status (Active when enabled), along with its location and connector counts. Use the search field to filter by name.
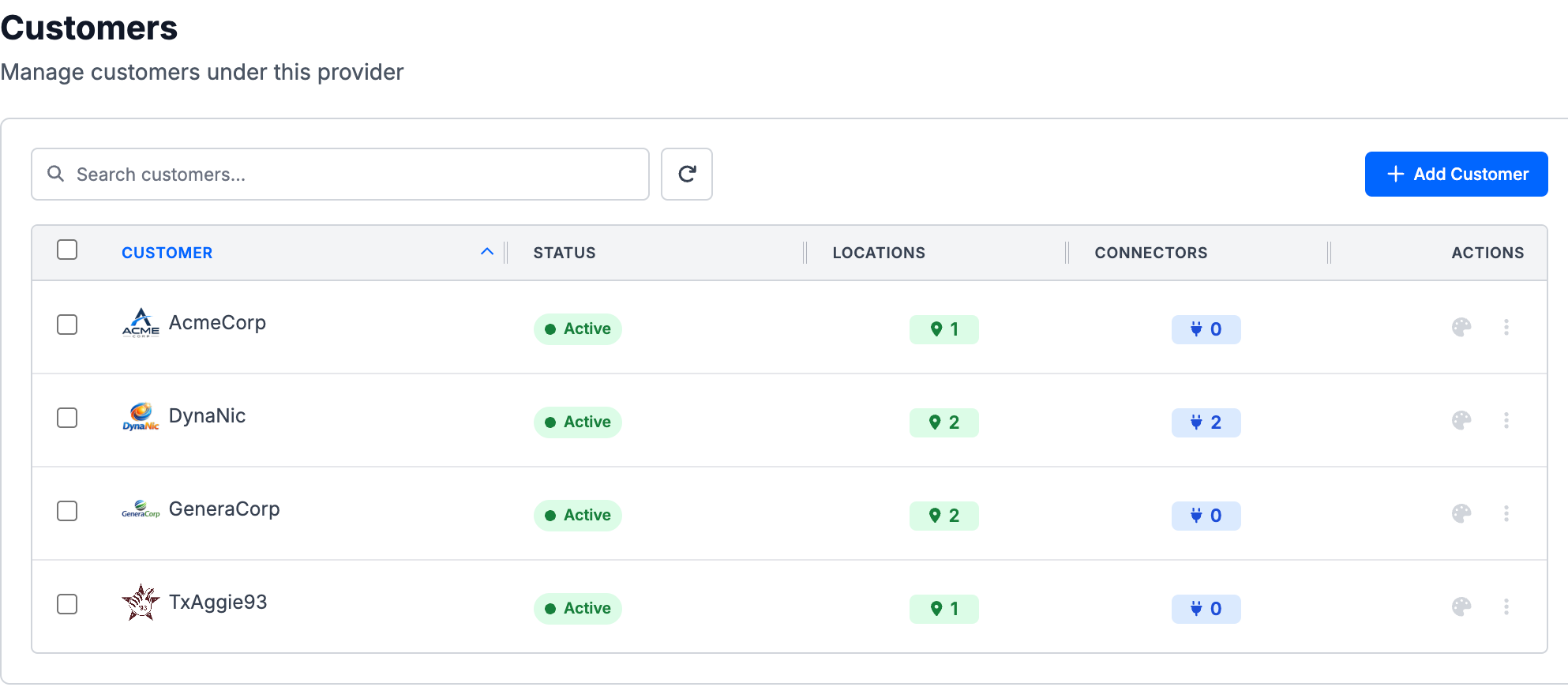
Each row has an Actions column with two controls:
- The branding icon (a palette) opens that customer's branding, where you set its name and logo. For more info, see Configure branding.
- The ⋮ menu has Save as Template, Suspend Service, and Delete Customer.
Add a customer
- Click Add Customer.
- Choose how to create it:
- Create New: Opens the Customer Setup Guide to configure the customer's locations, connectors, and access policies from scratch.
- Create From Template: Available once you have customer templates. Pre-fills the new customer from a saved snapshot. For more info, see Manage connector models and templates.
Open a customer's dashboard
Click a customer's row to open its monitoring dashboard — a summary of that customer's locations, connectors, and activity. The row does not open a name or description editor; a customer has no description field. To change a customer's name, use the branding icon in the Actions column, which opens the Branding editor (see Configure branding). A customer can't be reassigned to a different provider.
Save a customer as a template
To reuse a customer's setup, open the customer's ⋮ menu and click Save as Template. This captures the customer's configuration as a customer template you can apply when you add a new customer. For more info, see Manage connector models and templates.
Suspend or re-enable a customer
To suspend a customer, open its ⋮ menu and click Suspend Service and confirm. This temporarily suspends every
access policy touching a connector or location under the customer, so traffic stops flowing until you click Resume
Service from the same menu; suspended customers show a Suspended status pill in the list. The customer's
configuration is retained throughout — only its live connectivity is paused. Suspending and resuming require the
connectivity permission on the customer, which is granted independently of edit rights. See
Customers for exactly what suspending affects and how re-enabling restores it.
Delete a customer
To delete a customer, open its ⋮ menu and click Delete Customer. This removes the customer and everything scoped to it.