Set up your provider organization
The Provider Setup Guide walks you through standing up your provider organization: your branding, connector models, infrastructure, access policies, and team. It has seven sections. The middle four (Connector Models, Locations & Connectors, Define Access Policies, and Invite Users) are optional, so you can skip any of them and set them up later from the dashboard.
Open the Provider Setup Guide
The guide is offered when you first sign in to a new provider account. The Where would you like to start? prompt appears:
- Click Start guided setup to open the Provider Setup Guide.
- Click Go to dashboard to skip it and explore on your own.
If you skip the prompt, you can still start the guide later: On the dashboard, click Start guided setup in the Set up your network banner at the top.

If you leave the guide partway through and come back later, an Unsaved changes from a previous session prompt asks whether to Continue where you left off or Start over with a blank wizard.
1. Setup overview
The overview has two parts. The Setup Roadmap lists the steps ahead and what you'll end up with, and the Architecture Overview diagram shows how connector models, locations, connectors, and access policies fit together. There's nothing to configure here.
Click Continue Setup.
2. Provider Details
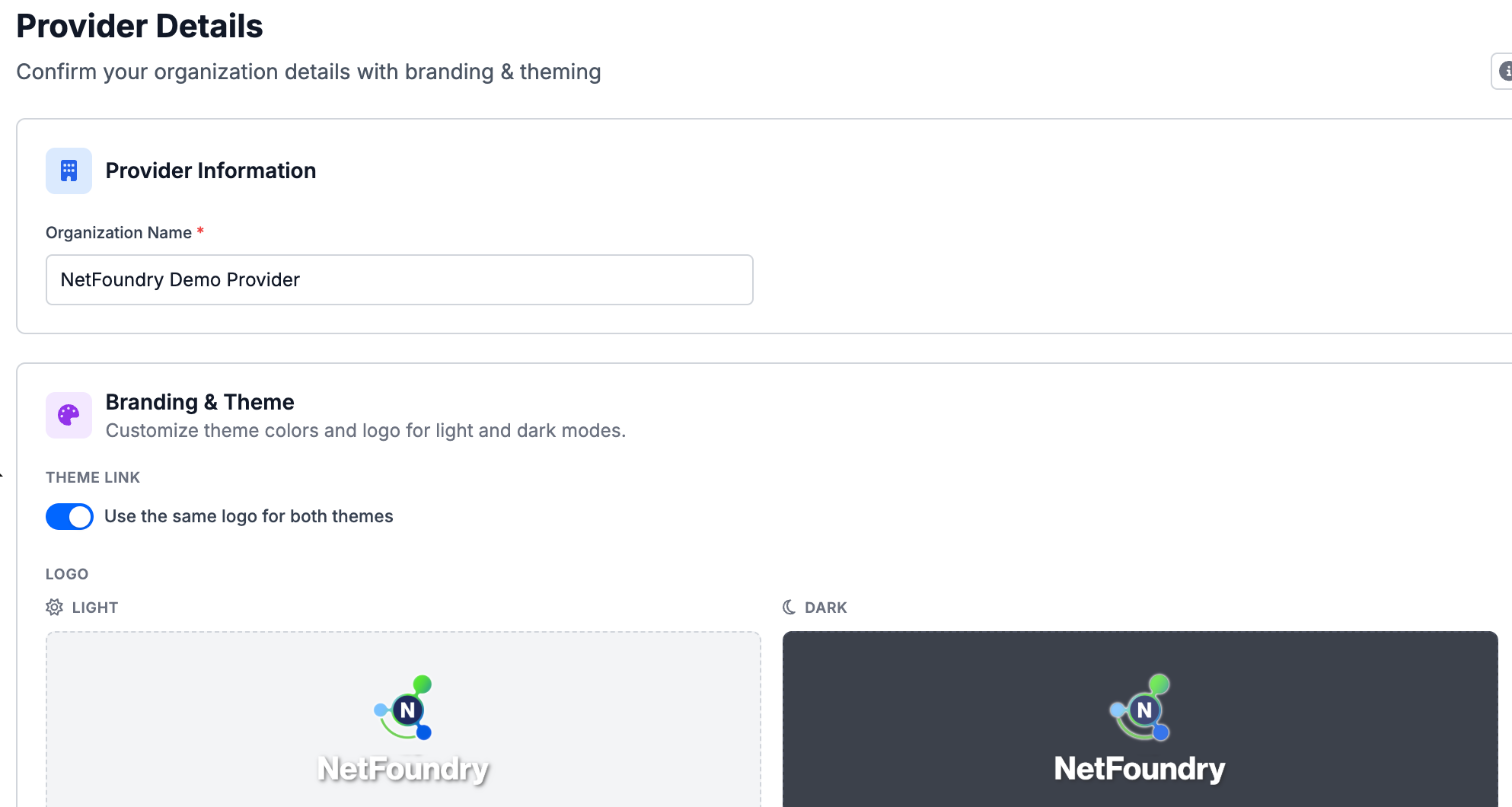
Confirm your organization details and branding.
- Enter your Organization Name.
- Under Branding & Theme, upload a logo and set your theme colors for light and dark mode. Leave Use the same logo for both themes on to reuse one logo, or turn it off to upload a separate dark-mode logo.
- Click Continue Setup.
3. Connector models
A connector model is a reusable blueprint you build connectors from, both in your own locations and in your customers' locations. It pairs a connector type with the applications it enables. Click Create a model to define one, or Skip for now to set models up later.
See Manage connector models and templates for the full workflow.
4. Locations & connectors
Add your provider locations, whether physical sites or virtual cloud regions, then deploy your connector models there as connectors. Only Add a location is available at first. Once you add a location, it appears in the list with an Add Connector action so you can deploy connectors at it. Click Continue Setup when you're done, or Skip for now to do it later.
See Manage locations for the full location workflow, and Deploy and enroll a connector for the full connector lifecycle.
5. Define access policies
Access policies enable access between connectors. On an empty step, click Create an access policy to create your first one, or Skip for now to add policies later from the dashboard.
See Build access policies for the full workflow.
6. Invite operators
Invite the operators who will help manage the platform. This section is optional. Click Skip for now to add them later.
- Click Invite User.
- In the dialog, enter their Email, First Name, and Last Name.
- Choose a Role:
- Admin: Full management access.
- Read-Only: View-only access.
- Send the invitation. It goes out when you finish setup.
7. Review & submit
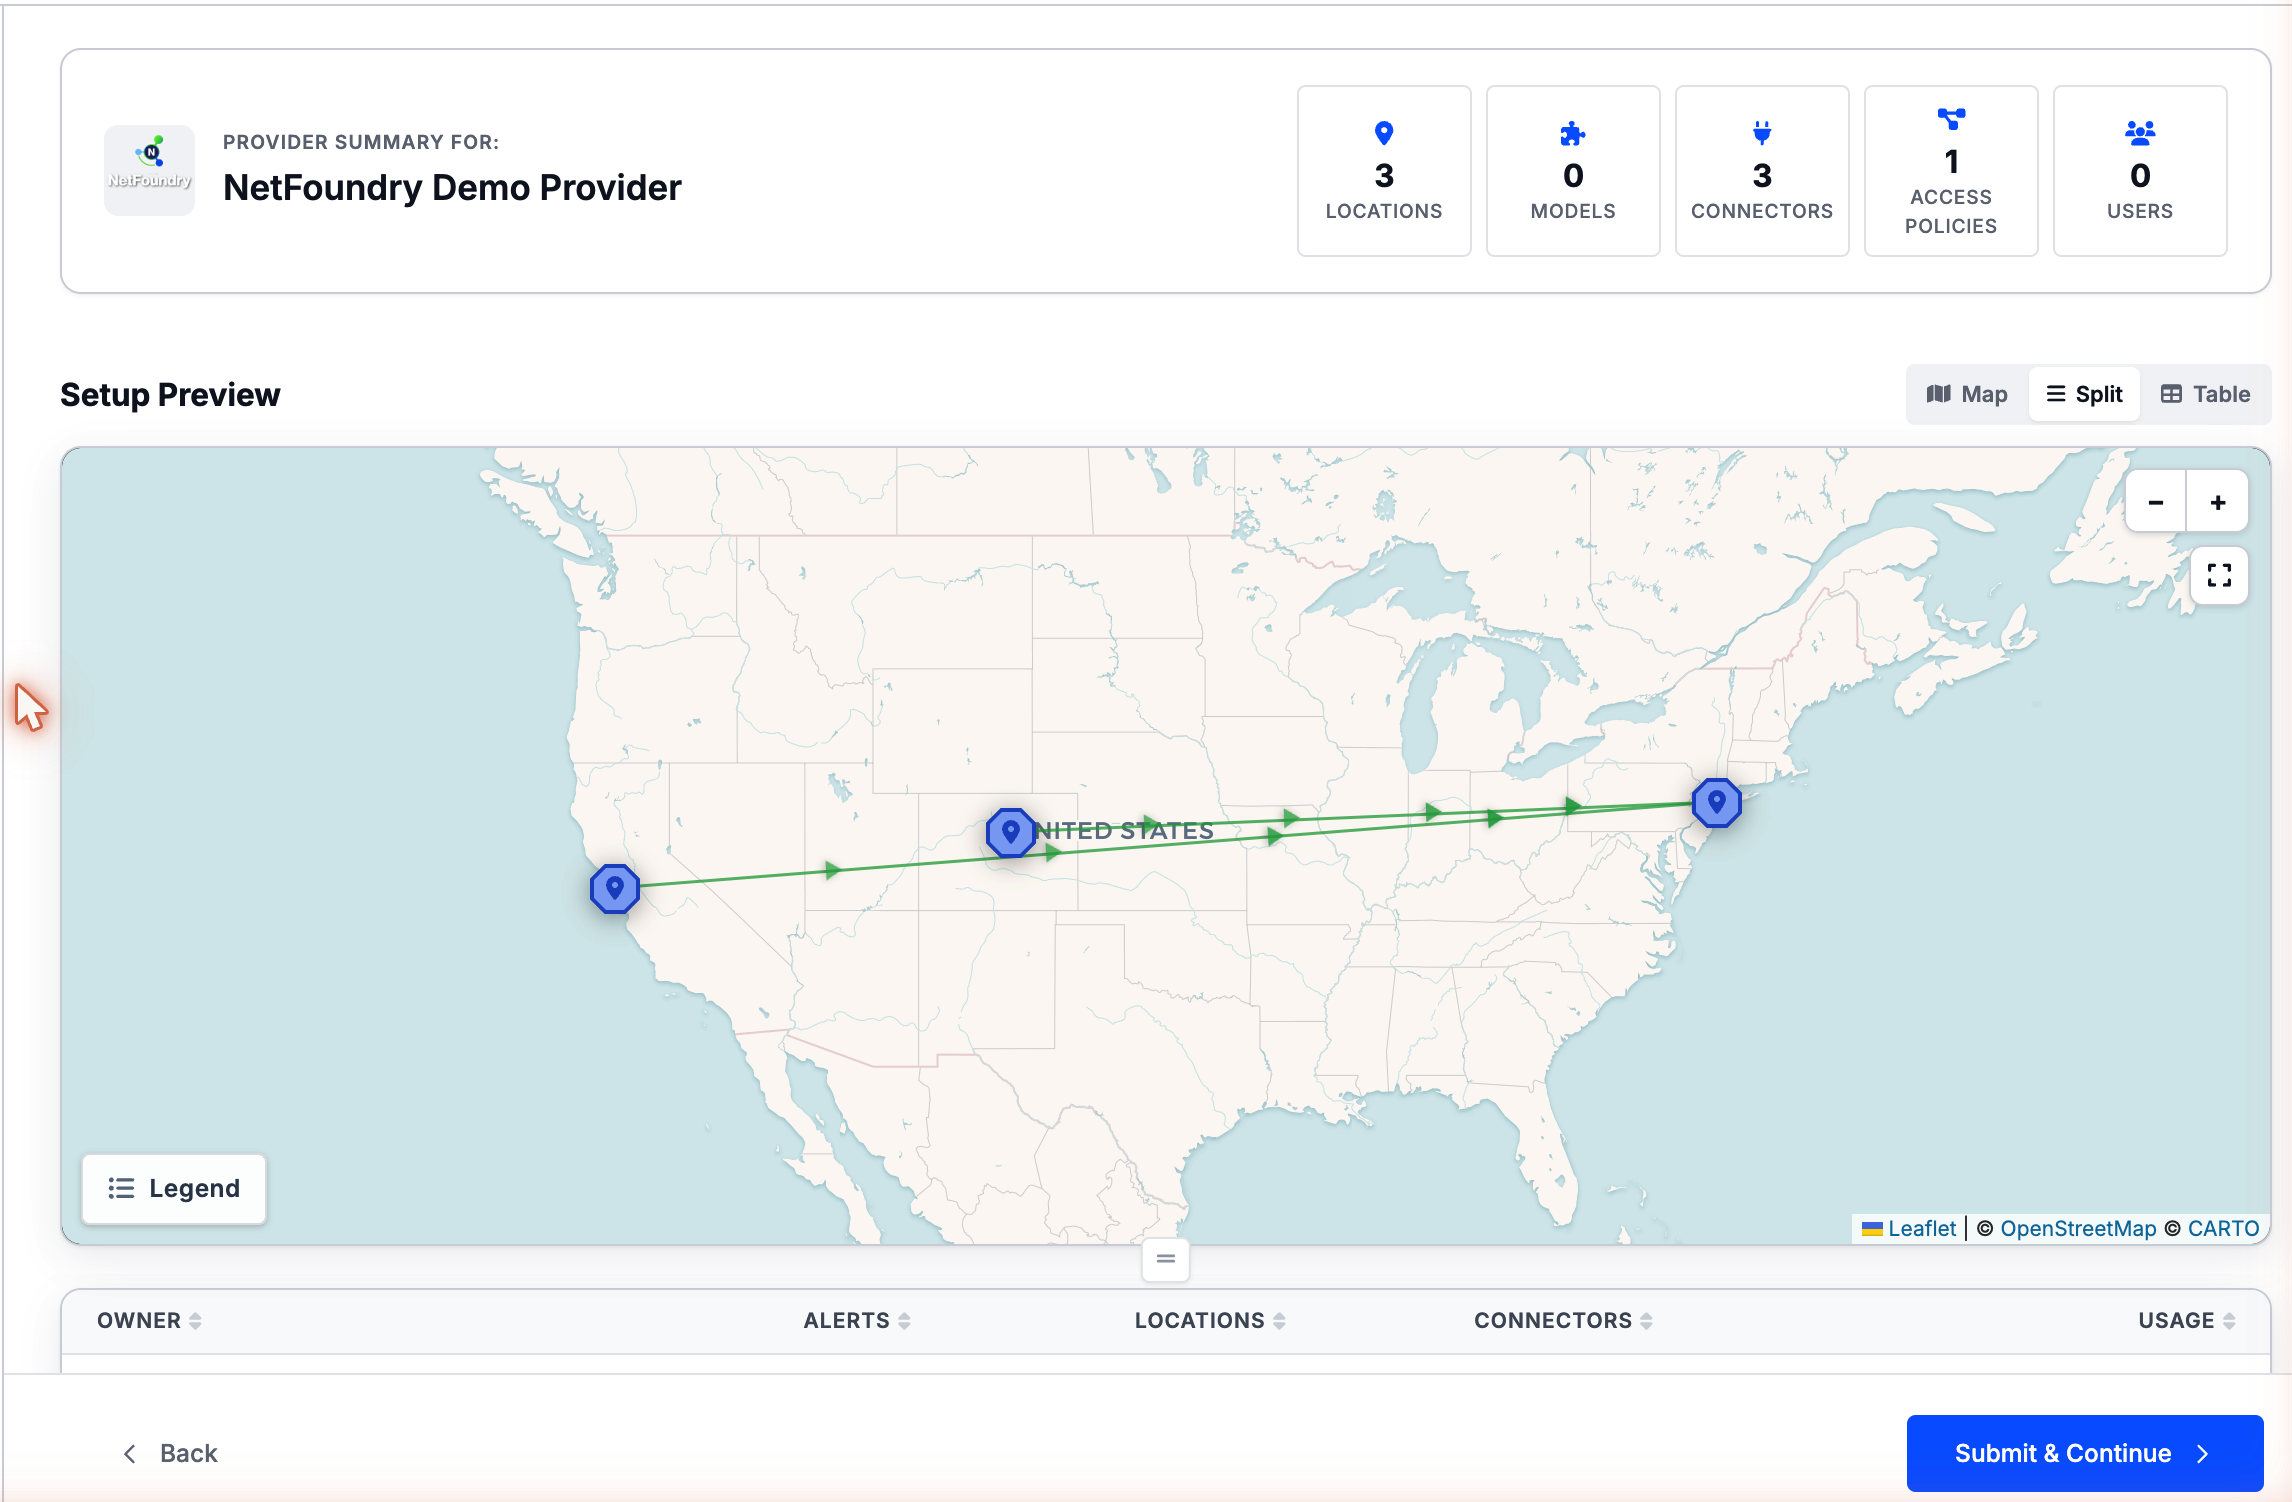
Review a summary of everything you've configured (locations, models, connectors, access policies, and operators) alongside a Setup Preview you can view as a Map, Split, or Table. When everything looks right, click Submit & Continue.
A progress modal tracks each phase as it's created. If a step fails, a banner explains what stopped; click Retry to resume from the failed step (resources already created are skipped automatically).