Onboard a customer
The Customer Setup Guide walks you through standing up a single customer: its details, connector models, locations and connectors, access policies, and team. It has seven sections. Three of them (Locations & Connectors, Define Access Policies, and Invite Users) are optional, so you can skip them and set them up later from the dashboard.
This guide covers setting a customer up from scratch. You can also start from a saved customer template, which pre-fills these sections from a snapshot. See Key concepts for more on templates.
Open the Customer Setup Guide
If you've just finished the Provider Setup Guide, click Continue to Customer Setup to open this guide directly.
Otherwise, open it from the sidebar:
-
Go to Customers.
-
Click Add Customer.
-
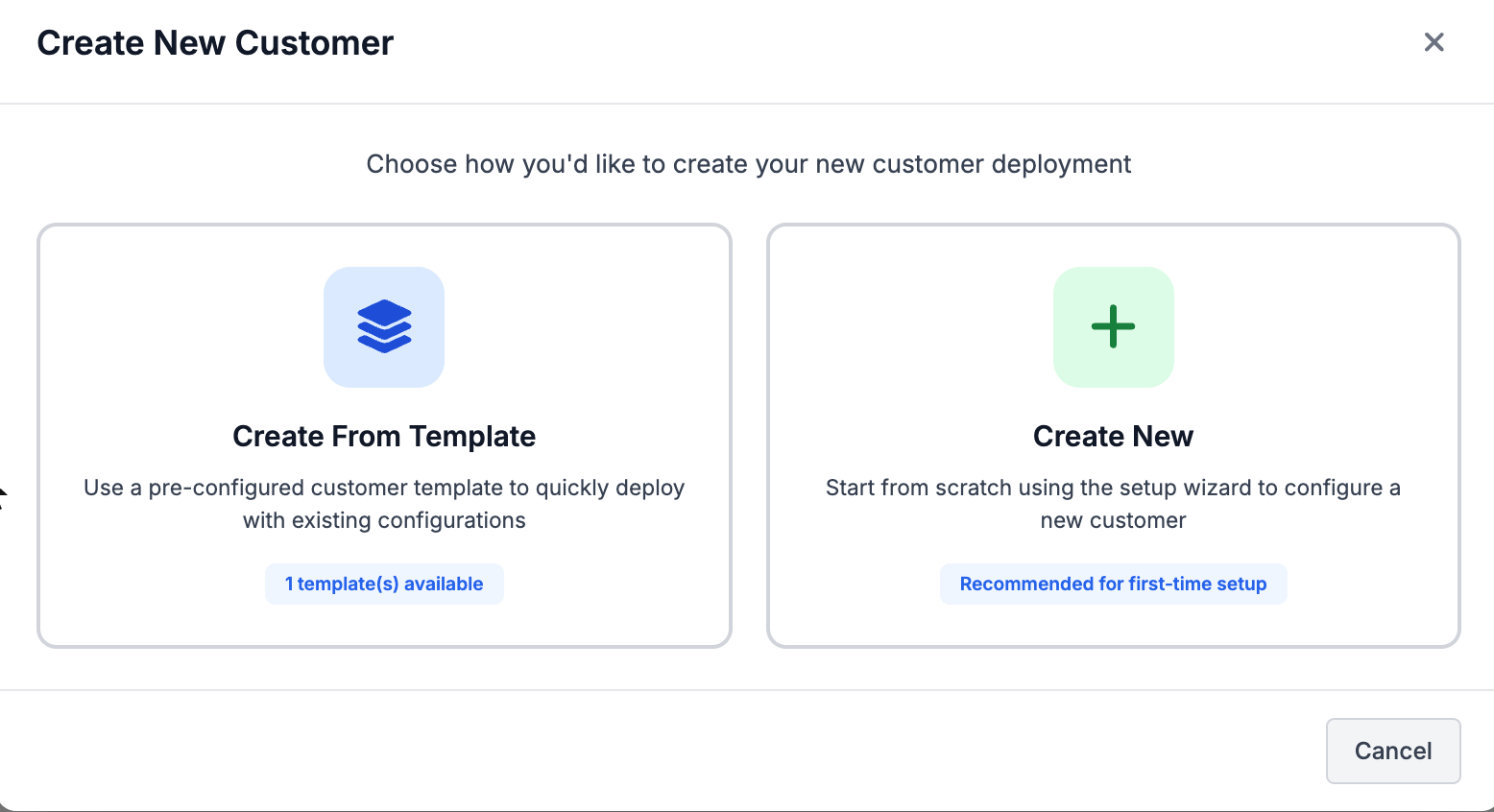
Click Create New.
Create from Template starts the customer from a saved snapshot instead. It's greyed out until you've saved at least one template.
1. Overview
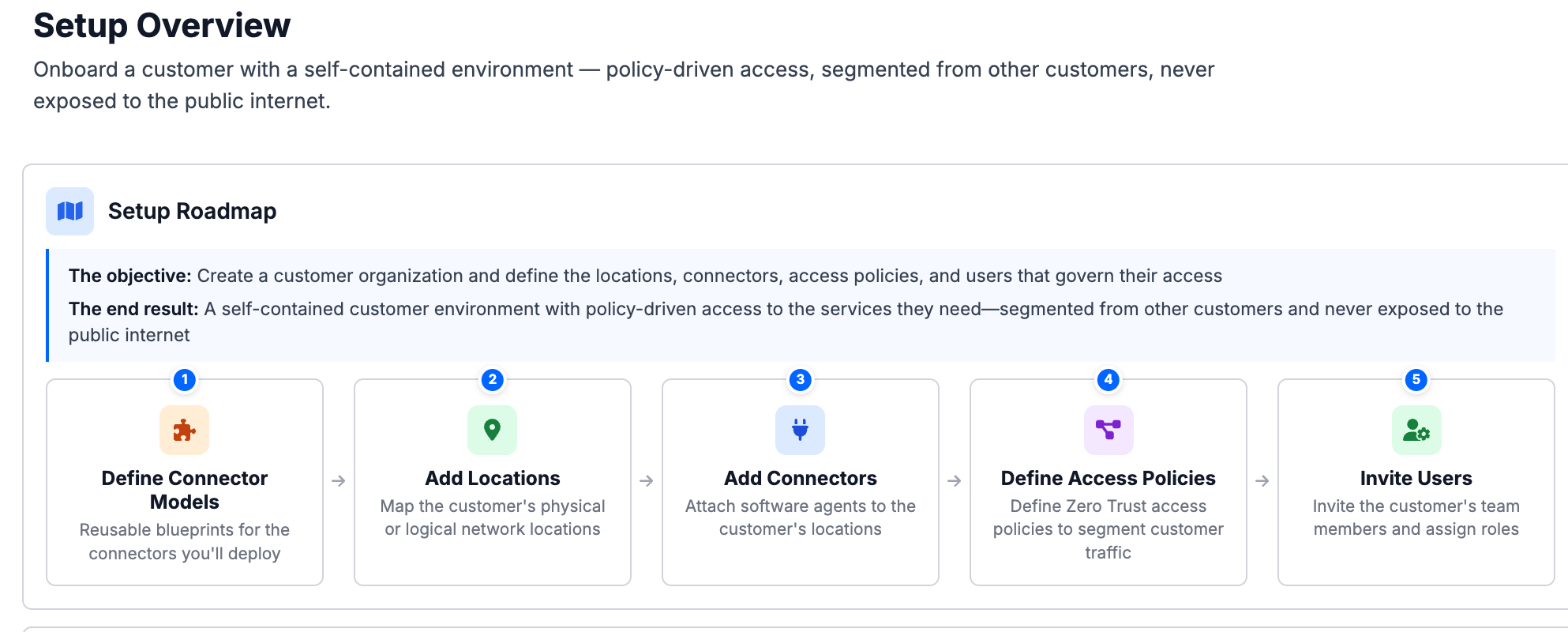
The overview has two parts. The Setup Roadmap lists the steps ahead and what you'll end up with, and the Architecture Overview diagram shows how the customer's connector models, locations, connectors, and access policies fit together. There's nothing to configure here.
Click Continue Setup.
2. Customer details
Under Customer Information, define the customer's name and branding:
- Enter the Customer Name.
- Click Upload Logo to add the customer's logo.
- Click Continue Setup.
3. Connector models
A connector model is a reusable blueprint you build the customer's connectors from. It pairs a connector type with the applications it enables. Click Create a model to define one, or Skip for now to set models up later.
See Manage connector models and templates for the full workflow.
4. Locations & connectors
Add the locations where the customer's members and resources connect, whether physical sites or virtual cloud regions, then deploy your connector models there as connectors. Only Add a location is available at first. Once you add a location, it appears in the list with an Add Connector action so you can deploy connectors at it. Click Continue Setup when you're done, or Skip for now to do it later.
See Manage locations for the full location workflow, and Deploy and enroll a connector for the full connector lifecycle.
5. Define access policies
An access policy connects a source to a destination, controlling who can connect and what they can reach across provider and customer infrastructure. Click Create an access policy to create one, or Skip for now to add policies later from the dashboard.
See Build access policies for the full workflow.
6. Invite operators
Invite the operators who will manage this customer — provider staff scoped to that account. Each invitee receives an email to set their password and is given the role you assign on this customer's resources. This section is optional. Click Skip for now to add them later.
- Click Invite User.
- In the dialog, enter their Email, First Name, and Last Name.
- Choose a Role:
- Admin: Full management access.
- Read-Only: View-only access.
- Send the invitation. It goes out when you finish setup.
7. Deployment summary
Review a summary of everything you've configured for the customer (connector models, locations, connectors, access policies, and operators) alongside a Setup Preview you can view as a Map, Split, or Table. When everything looks right, click Save Customer to deploy.
Saving the customer takes you to the dashboard, where you can start creating your first connection.